Why the ab roller works when crunches don't
The crunch is the most popular ab exercise and one of the least effective. It moves through a tiny range of motion, loads only the rectus abdominis (the "six-pack" muscle), and puts the spine through repeated flexion that accumulates over thousands of reps into disc pressure. Spine researcher Stuart McGill documented this decades ago, and the research has not changed.
The ab roller wheel works differently. You start in a kneeling position, roll the wheel forward until your body is nearly parallel to the ground, then pull yourself back. This is an anti-extension exercise: your core's job is to resist your lower back from collapsing into a hyperextended arch. It trains the rectus abdominis, obliques, transverse abdominis, and lats simultaneously through a full range of motion. It is also brutally difficult, which is why it works.
Types of ab rollers
Single wheel
The classic design: one wheel on an axle with two handles. Simple, cheap, effective. The narrow wheel requires more lateral stability from your core, which adds difficulty. Beginners may find it wobbly. The PharMeDoc Ab Roller is a solid single-wheel option with comfortable foam grips and a knee pad included.
Dual wheel
Two wheels spaced apart on the same axle. More stable than a single wheel, easier to control. The ProsourceFit Dual Ab Wheel uses two smooth-rolling wheels with comfortable grips. Better for beginners because the wider base prevents the wobble that makes single wheels intimidating.
Spring-assisted (Ab Carver style)
A wider wheel with an internal spring mechanism that helps you return from the extended position. The spring provides assistance on the hardest part of the movement (the pull-back). It also adds resistance on the way out. This makes it easier to start but still challenging throughout the full range. Good for people who cannot yet complete a full rollout unassisted.
Ab roller with foot straps
Advanced ab rollers that strap to your feet instead of your hands. You lie on your back and roll the wheel away and back with your legs. This targets the lower abdominals and hip flexors more than the standard hand-held version. It is a progression for people who have mastered the standard rollout.
Technique: getting it right prevents injury
Starting position: Kneel on a mat or pad. Grip the handles with straight wrists. Wheel directly below your shoulders. Core braced, glutes engaged.
Roll out: Push the wheel forward while keeping your hips behind your shoulders. Your body should hinge at the hips, not collapse at the lower back. Stop when you feel your lower back starting to arch. That is your current range. Do not push past it.
Pull back: Tighten your core and pull the wheel back to the starting position. Exhale during the pull-back. The movement is slow and controlled, not fast. A 3-second rollout and 3-second return is a good tempo.
Common mistakes: Letting the lower back sag (puts compression on the lumbar discs), rolling too far out before you have the strength (same problem), using hip momentum to pull back instead of core contraction (defeats the purpose). If your lower back hurts during rollouts, you are going too far. Shorten the range and build up gradually.
Progression for beginners
Week 1 to 2: Wall rollouts. Kneel facing a wall, 3 to 4 feet away. Roll out until the wheel touches the wall. The wall limits your range of motion and prevents over-extension. Do 3 sets of 5 to 8 reps.
Week 3 to 4: Partial rollouts. Move away from the wall. Roll out to about 60 to 70 percent of your maximum range. The last 30 percent is where the exercise becomes hardest and where form breaks down. Build the strength in the easier range first. Do 3 sets of 6 to 10 reps.
Week 5 to 8: Full kneeling rollouts. Extend to near-horizontal. Keep the tempo slow. If you can do 3 sets of 10 with good form, you have a strong core by any reasonable standard. From here, you can progress to standing rollouts (feet on the floor instead of knees), which is an advanced movement that most recreational lifters never need.
Other core equipment worth considering
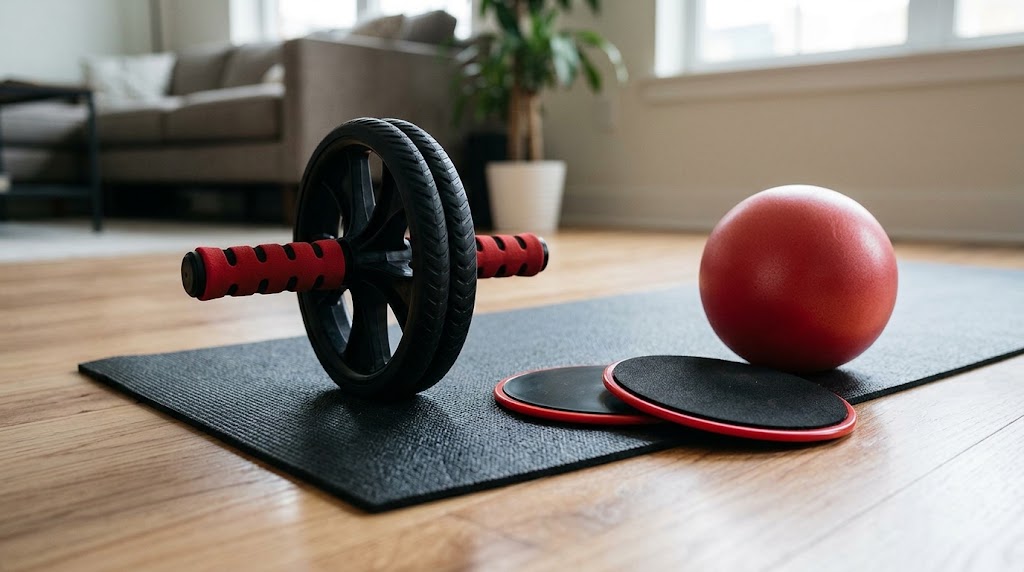
Ab slider: Similar concept to the roller but uses sliding discs under your hands or feet on a smooth floor. Less equipment, similar results, but requires a smooth surface.
Stability ball: A large inflatable ball for planks, rollouts, and dozens of other exercises. More versatile than an ab roller but takes up more space. A 55 to 65 cm ball (depending on your height) fits under a desk when not in use.
Hanging leg raises: If you have a pull-up bar, hanging leg raises are one of the most effective core exercises. They require zero equipment beyond the bar.
Bottom line
An ab roller costs $10 to $25, fits in a drawer, and provides a core workout more effective than hundreds of crunches. Start with wall rollouts, progress to full kneeling rollouts over 6 to 8 weeks, and respect the range of motion your lower back allows. Pair it with planks and side planks for complete core training in under 10 minutes.